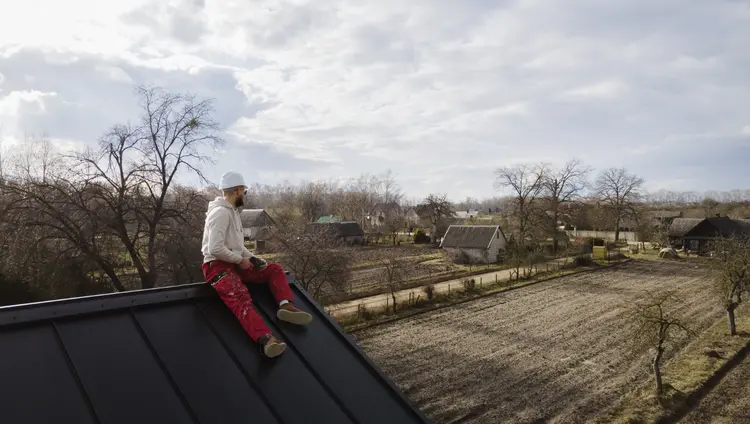
A low-slope roof can be an excellent option for homeowners seeking a modern, sleek design that provides more usable space. However, just like any roof type, low-slope roofs are susceptible to wear and tear, particularly when cracks or blisters form. These issues can lead to more severe damage if left unaddressed.
So, what should you do when you notice cracks or blisters on your low-slope roof? In this blog, we’ll walk you through the causes, consequences, and solutions to help you protect your home.
Understanding Low Slope Roofs and Common Issues
Before diving into the specifics of cracks and blisters, it’s essential to understand what a low-slope roof is. Low-slope roofs, often called flat roofs, have a pitch of less than 3:12, meaning they slope at less than 3 inches of rise for every 12 inches of run. These roofs are standard on modern homes, commercial buildings, and certain architectural styles.
While low-slope roofs are durable and practical, they face unique challenges compared to traditional steep-slope roofs. Because of their minimal slope, low-slope roofs are more prone to water pooling, which can lead to structural damage over time. Two common issues that homeowners might encounter are cracks and blisters.
- Cracks: Cracks can develop in the roofing material over time due to weather exposure, improper installation, or natural wear and tear. Cracks can lead to water leaks if not promptly repaired.
- Blisters: Blisters appear as bubbles or raised areas on the roof’s surface. They occur when moisture becomes trapped beneath the roofing material and expands, causing the material to separate.
Why Cracks and Blisters Appear on Low Slope Roofs
There are several reasons cracks or blisters might develop on a low-slope roof. Some of the common causes include:
- Age and Wear: Roofing materials naturally break down over time due to prolonged exposure to UV rays, temperature fluctuations, and weather conditions. As materials age, they become less flexible, leading to cracks and blisters.
- Poor Installation: Improper installation techniques, such as inadequate sealing or overlapping of roofing material, can lead to weak points that may eventually crack or blister.
- Trapped Moisture: For low-slope roofs, water drainage can be a problem if the roof is not properly sloped or if gutters are blocked. Trapped moisture underneath the roofing membrane can cause blistering, especially on roofs with flat or nearly flat surfaces.
- Temperature Changes: Rapid temperature shifts can also cause expansion and contraction of roofing materials, leading to cracks or blisters. This is especially common in areas with extreme weather.
What to Do When You Notice Cracks or Blisters
Now that you understand why cracks and blisters form on low-slope roofs, let’s dive into what you should do when you notice these issues.
1. Inspect the Roof Thoroughly
The first step is to assess the extent of the damage. Carefully inspect the roof to determine the size and number of cracks or blisters. Look for signs of moisture or water damage inside the house, such as water stains on ceilings or walls. If you’re not comfortable performing a roof inspection, consider hiring a professional roofing contractor who specializes in low-slope roofs to assess the damage.
2. Check for Water Pooling or Drainage Issues
Low-slope roofs are particularly vulnerable to water pooling because of their minimal pitch. Check your gutters and drainage system to ensure that water is flowing properly off the roof. Standing water can exacerbate cracks and blisters, leading to more severe damage. If you notice significant water accumulation, you may need to address the drainage system immediately to avoid further problems.
3. Perform Temporary Repairs
If you notice cracks or blisters and need immediate protection, perform temporary repairs to prevent water infiltration. For example:
- Cracks: Use a roofing sealant designed for low-slope roofs to fill in cracks temporarily. This will help stop water from entering the roof while you arrange for professional repairs.
- Blisters: If the blister has popped, clean the area, dry it thoroughly, and then apply a sealant over the exposed surface. If the blister is still intact, you can puncture it to release trapped moisture and flatten it before applying a roofing sealant.
4. Consult a Professional Roofing Contractor
While temporary fixes can help you avoid immediate damage, it’s essential to consult a professional roofing contractor for a permanent solution. A qualified contractor will:
- Evaluate the Extent of Damage: They will assess whether the cracks or blisters are a surface-level issue or a sign of more significant problems with the roof’s structure.
- Recommend Repairs or Replacements: Depending on the severity of the damage, the contractor might recommend patching the affected areas, replacing the damaged roofing material, or, in extreme cases, a full roof replacement.
5. Invest in Regular Roof Maintenance
One of the best ways to prevent cracks, blisters, and other issues on your low slope roof is by investing in regular maintenance. Schedule yearly roof inspections to catch potential problems early before they escalate into costly repairs. Routine maintenance also ensures that your roof stays in top condition, extending its lifespan and minimizing the chances of water damage.
The Bottom Line
Cracks and blisters on a low-slope roof can lead to severe water damage if left untreated. Whether you’re dealing with small surface-level cracks or larger blisters, addressing these issues promptly is crucial to protecting your home from further damage. Don’t wait until the problem worsens—inspect your roof regularly and consult with a professional roofing contractor when you notice any signs of damage.
